Throw a party that’s out of this world and take your friends to outer space with this DIY Galaxy photo booth. This photo booth is the cherry on top for a space party, Dr. Who Party or Halloween party!
All you need is $20 and 1 hour to put it together. Trust me when I say that anybody can create the space photo props and booth, no matter where you fall on the crafty scale. What’s also nice with this photo booth theme is that you can easily recycle the props and use them for a space project! So read on and learn how to make your DIY Galaxy photo booth!
What You’ll Need:
.png)
DIY Galaxy Photo Booth Step 1. Paint Your Planets
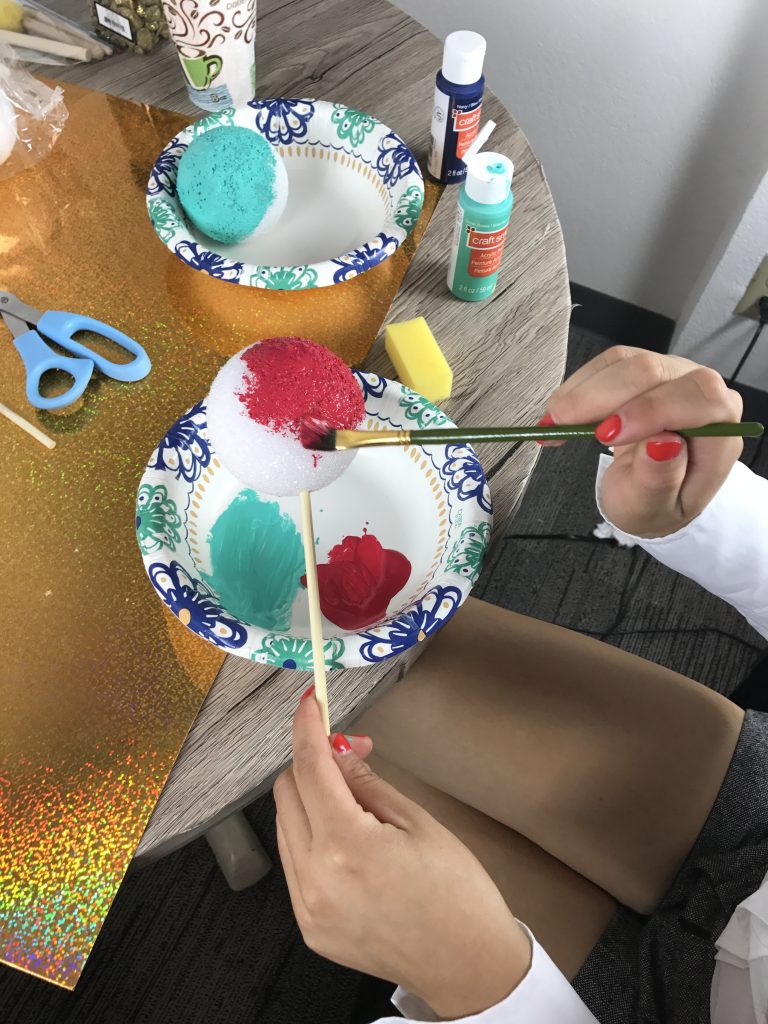
So here are a few pointers to remember while painting the planets for your DIY galaxy photo booth: Don’t wear a white shirt and place a chopstick in the styrofoam ball BEFORE painting. I made the above mistakes and realized mid way that I needed to change shirts and it’s difficult to fully paint a styrofoam ball while holding it in your hand.
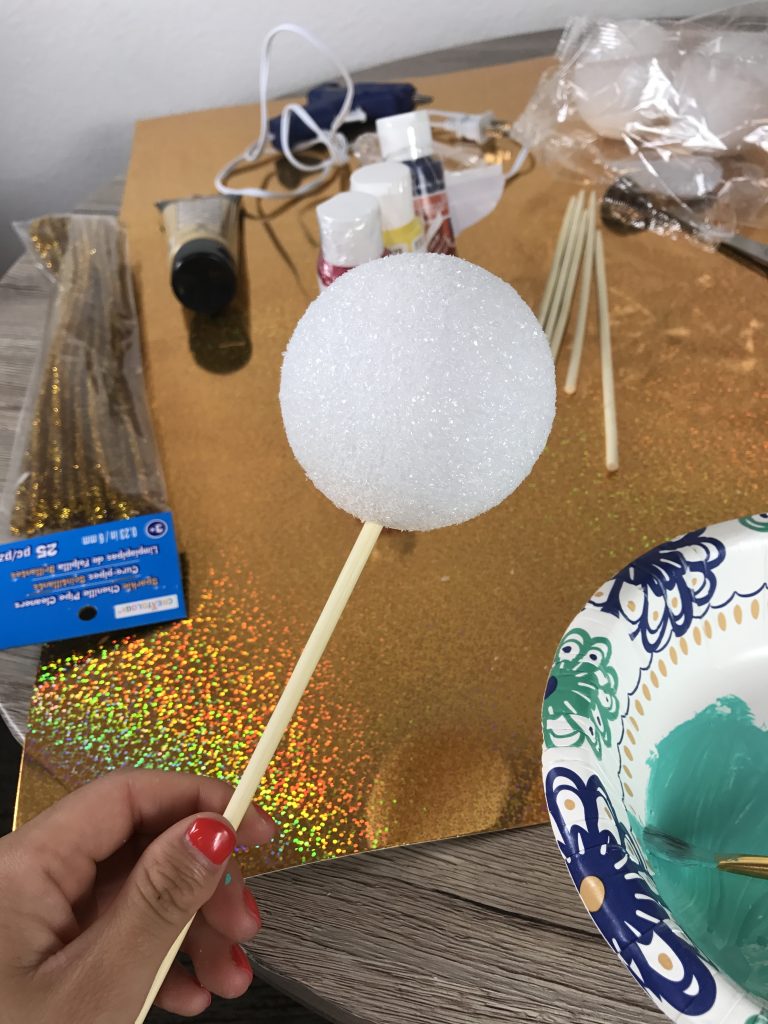
It took several coats for me to fully paint the entire ball, so don’t worry if you find yourself squirting out more paint than you anticipated. What’s great about space is that we really don’t know all that is out there. So have some fun and make up your own planets! I chose to do a childlike replica of good ol’ planet earth, my own version of saturn and pluto. After painting your planets, prop them up in some cups and let them dry for a full 2 hours.
DIY Galaxy Photo Booth Step 2. Glue Your Comets
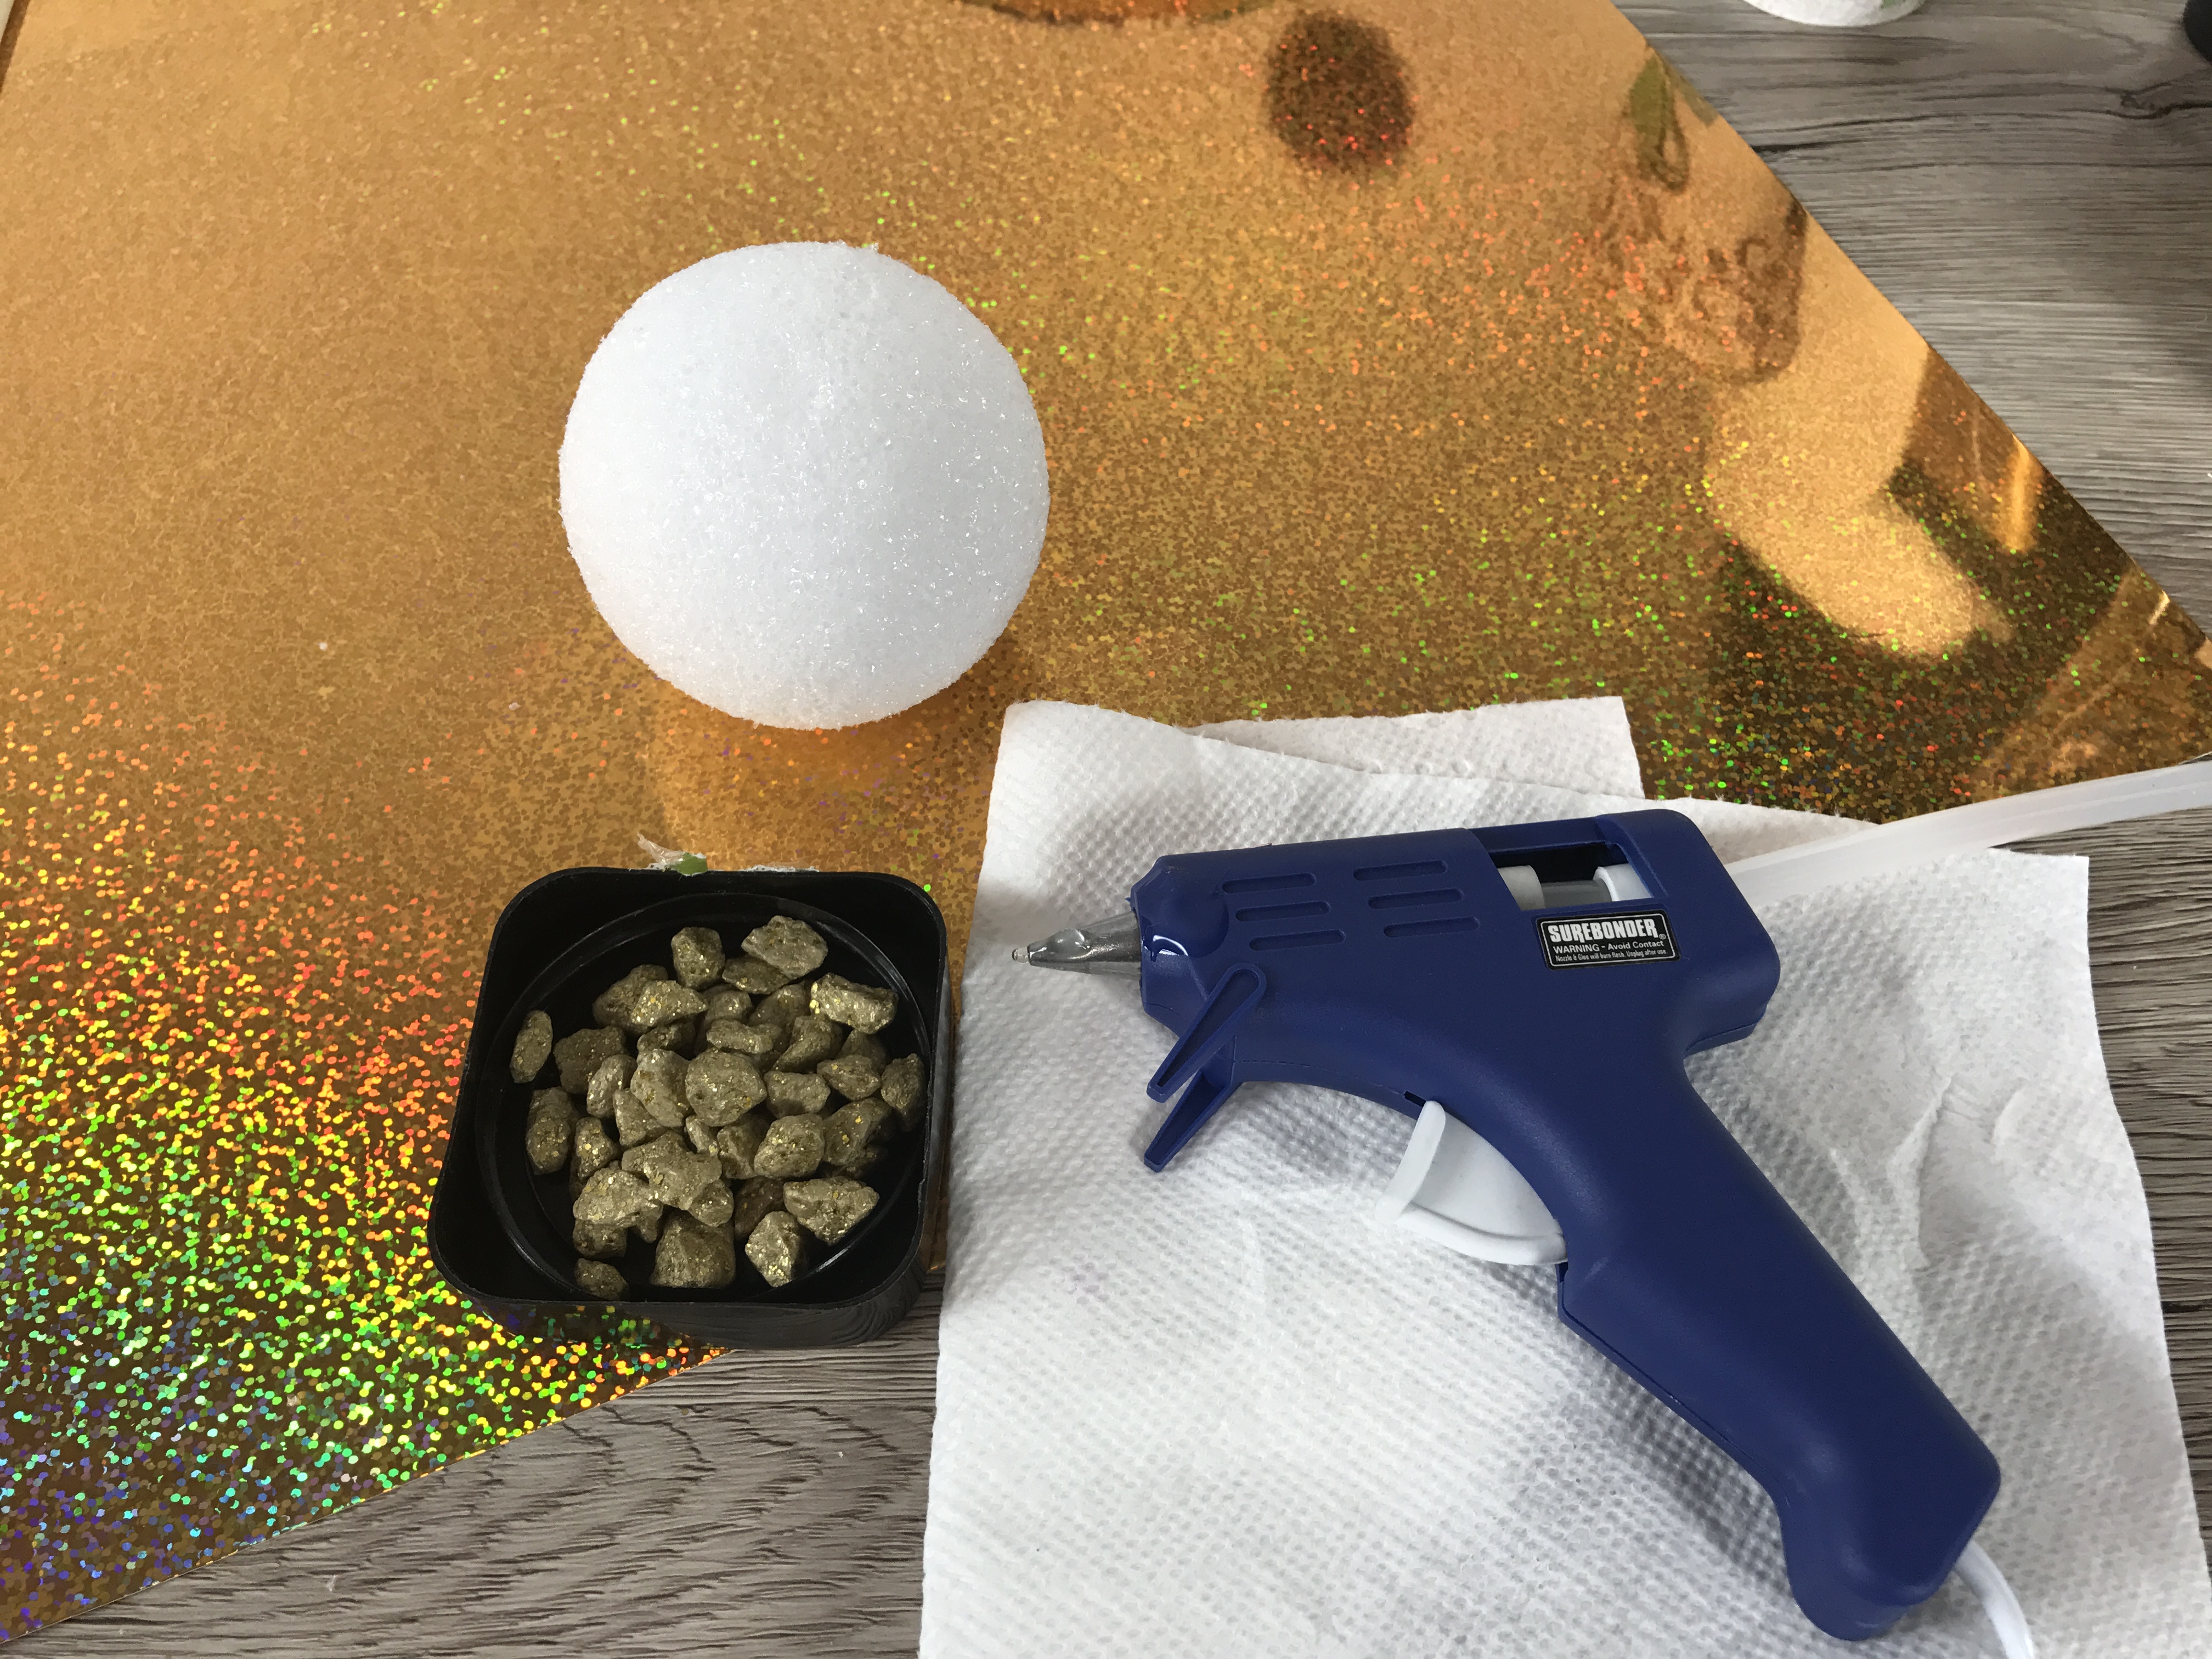
So this step is optional. Talented painters can choose to paint a comet replica. If you’re like me and not a super talented painter, then you might want to decorate your comet with beads or decorative rocks.
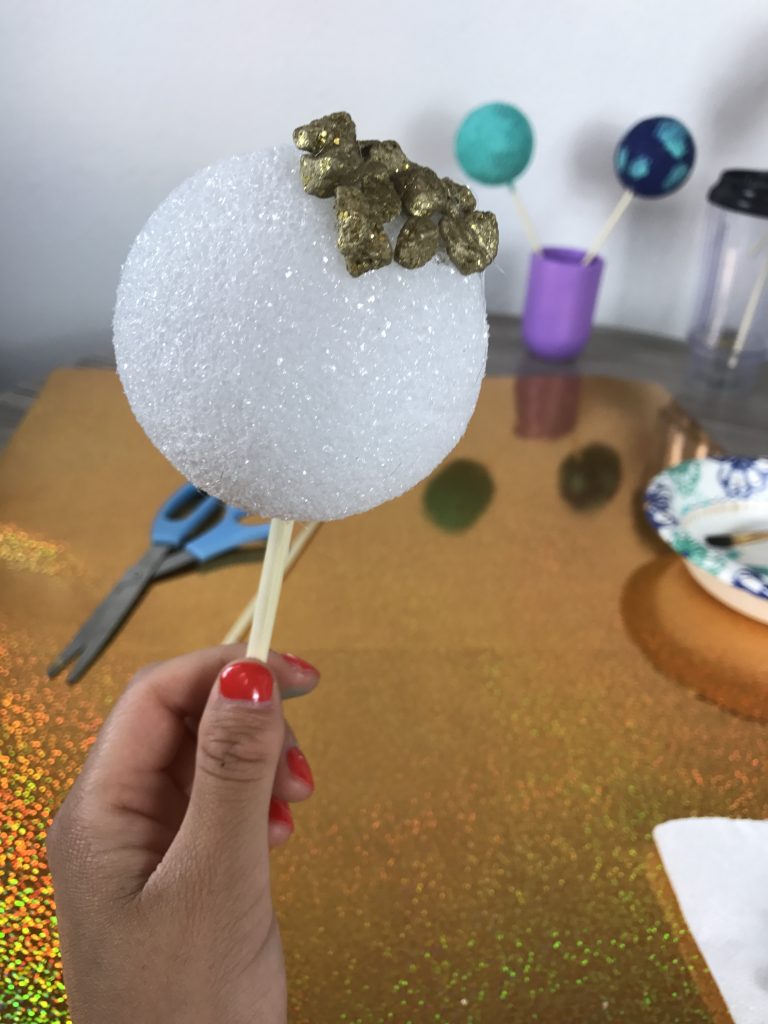
I’m already forewarning you, but both processes will take time. In total it took about 25 minutes to glue half of my comet. Near the end I became hungry so I chose to paint the back half of the comet with gold paint. But the end goal is so worth it. Whether you’re using this prop for a photo booth or your kids’ science project, it’ll stand out from the rest of the planets.
Patience is key, so just glue on one bead at a time as close together as possible and before you know it you’ll have a comet.
DIY Galaxy Photo Booth Step 3. Let Your Inner Star Shine
.jpg)
This is the easiest DIY Galaxy Photo Booth prop to make. If you can, find a sparkly poster board, (I found this one at Michaels), and on the back draw a star and cut away.
There are different ways to make star photo booth props. You could paint glitter paint over regular card paper or styrofoam. I chose to stick to poster board so the prop would be flimsy.
Once you cut out your star, glue the back of it to the thinner end of a chopstick.
DIY Galaxy Photo Booth Step 4. Find Your Backdrop
This part should be easy since the backdrop to space is the night sky which in essence is black. So if you’re tight on time, find a black bed sheet or tapestry, hang it on your wall and you’ll be good to go!
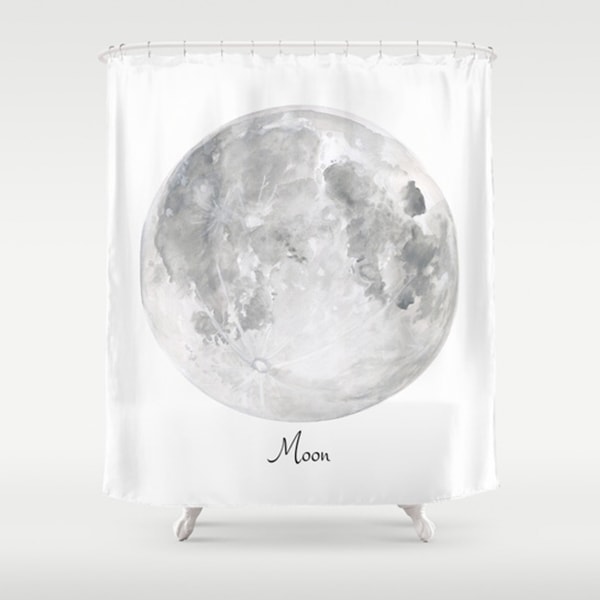
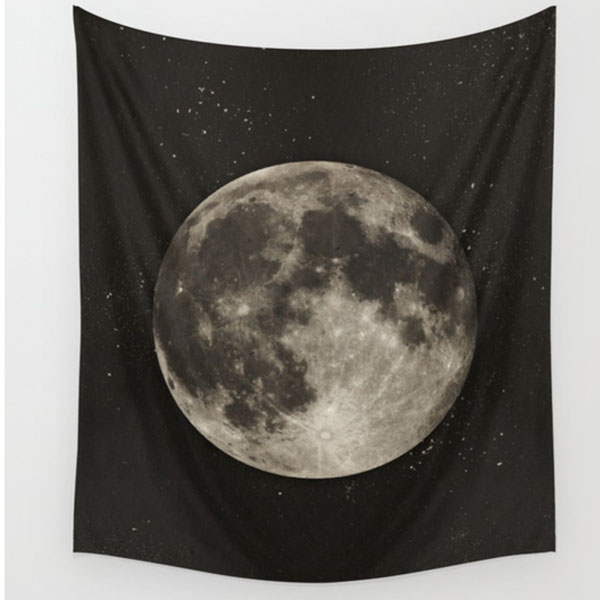
If you want your DIY galaxy photo booth to have an extra bit of pizzaz, use a space themed backdrop! We doubled our Moon Art Shower Curtain as our backdrop! If you don’t want to order a curtain, try using this Moon Tapestry as your background and throw in some twinkling lights!
DIY Galaxy Photo Booth Step 5. Pose!
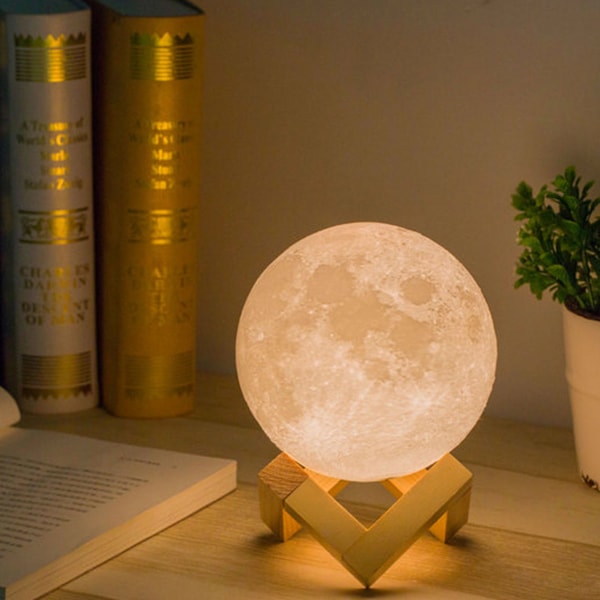
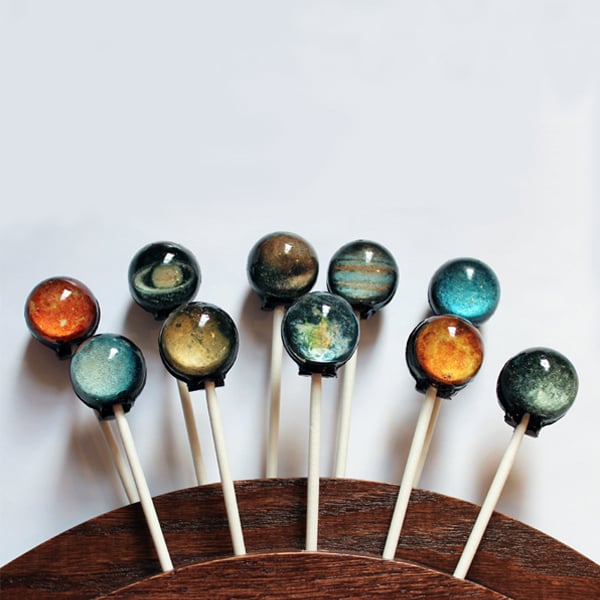
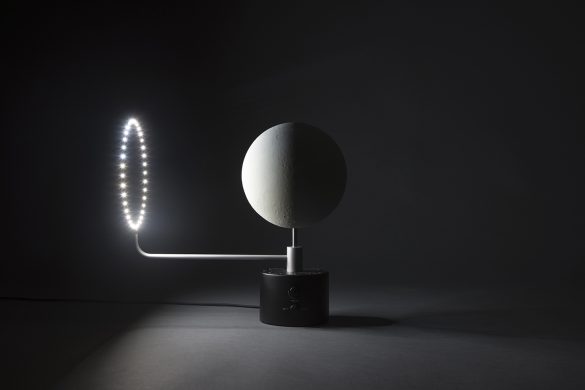
You put in all this hard work, now it’s time to have fun and take all the photos your heart desires! You’re bound to capture some Instagram-worthy photos and boomerangs in this DIY galaxy photo booth! Use this dreamy Moon Light as a unique photo prop and if you’re throwing a space party hand out these tasty Solar System Lollipops as fun party favors!
Click here for more fun space toys, gifts and gadgets!
At Apollo Box, we are passionate about fun and unique gifts. We created an innovative AR shopping platform to make shopping even more fun. We want you to discover something you are so excited about that you want to share it with your friends. Sign up with us to get informed about innovative technology and products.

